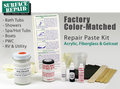
Factory Color Paste By Brand
 Kit by Brand Color


 |
|
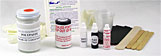
3 Easy Steps Demo Paste Repair Kit:
|
| |
| STEP 1 |
 |
Prepare the chip, gouge or crack by using a grinding tool, putty knife, razor knife or other sharp tool. Be sure to create a "V" shape going throught the depth of the surface (color) stopping at the fiberglass structure - 1/16" to 3/16" deep.
Wipe the area with a cloth or paper towel and use the sandpaper included to smooth out the repair area. Finally, remove all particles and clean area with acetone or nail polish remover. Your work area is now ready for Step 2. |
|
|
| STEP 2 |
 |
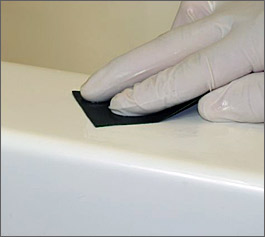
Dispense a desired amount of Poly Paste into one of the mixing cups included in the kit. Add 4 drops of catalyst per 1/4 ounce (16 drops per ounce - entire jar is 3 oz.).
Mix the catalyst and the Poly Paste together using the smaller stir stick from the kit. Once this is done apply mixture to the repair area with the larger mixing stick. Be sure to over fill the crack or chip slightly. Your work area is now ready for Step 3. |
|
|
| STEP 3 |
 |
Wait one hour or until material hardens. At this point a heat gun or ordinary hair dryer can be used to speed up drying time. You will then use the sand paper so that the contour of the repair matches the surrounding area.
Using a soft cloth, (or a buffing pad if preferred), and the supplied rubbing compound, hand rub area to polish and blend in the repaired area. Your repair is now finished. |
| Back to Top |
| BUY NOW |
|
|
| ADDITIONAL INSTRUCTIONS: |
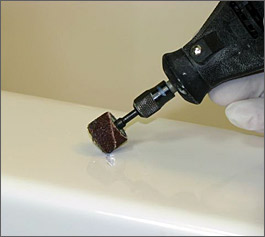 |
GRINDING:
For harder surfaces or larger repair areas, a dremel tool or drill equipped with a grinding bit may be necessary to achieve optimum preparation. |
|
|
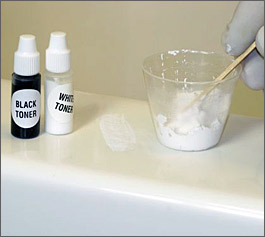 |
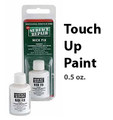
TONING:
Toners are used for shading the Poly Paste color darker or lighter when the color needs adjustment especially when pure white is used as a starting point. Before adding catalyst to mixture add desired amount of Poly Paste in mixing cup provided. Adjust color by adding 1 drop of white or black toner and mix in thoroughly. Check color then add more white or black in small amounts until desired color is achieved. Then add catalyst to mixture. |
|
|
 |
SANDING:
For best results wet sand with wet/dry sandpaper and water (220, 320, 400, and then 600 grit sandpaper.) Note: Drip water onto the sanding area with a wet rag while sanding. |
|
|
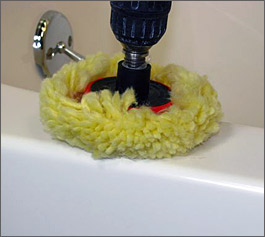 |
BUFFING:
Machine buffing is acceptable using an automotive quality buffer and supplied rubbing compound. Recommended speed is 1800 to 2800 RPM. The picture illustrates a drill with our mini buffing pad set up. |
|
|
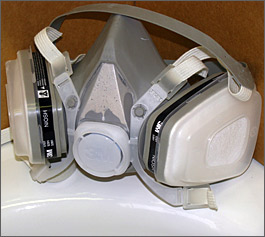 |
SAFETY:
Use proper ventilation, open windows and wear latex gloves. Avoid contact with skin and eyes. When spraying coatings and where no ventilation is possible in confined areas, an organic respirator is recommended. |
|
| |
|
Order here by Color Brand:
 Loading... Please wait...


 $26.95
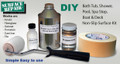 $79.95